


How to Spot a Fake Apple Product Before You Buy
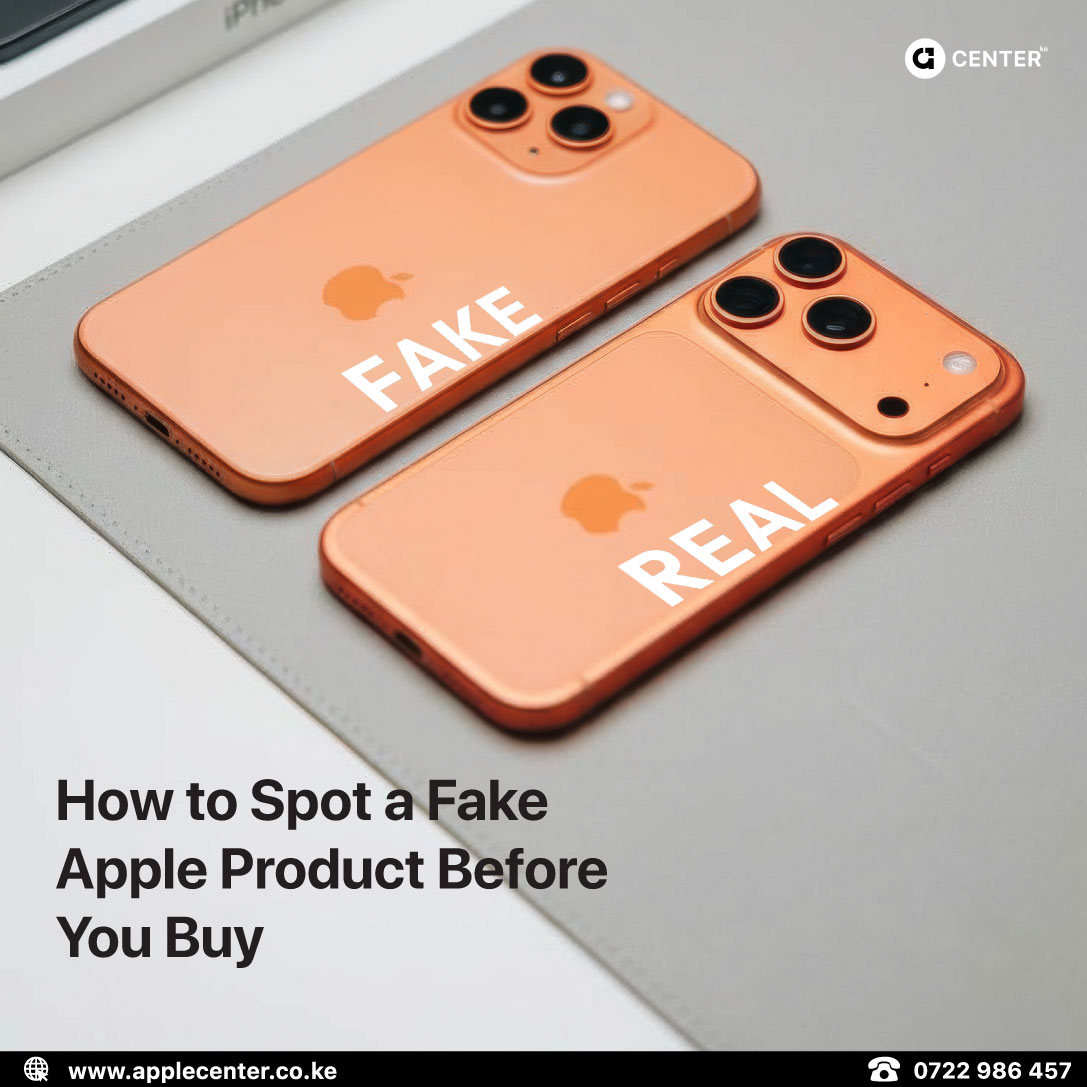
A Practical Buyer’s Guide That Saves You Money and Stress
Counterfeit Apple products are better than they’ve ever been. Some fake boxes look factory sealed. Some serial numbers are copied. Some accessories even trigger pairing pop ups that feel almost real. That’s why spotting fakes today is less about one obvious giveaway and more about following the right order of checks.
The good news is this. Most fakes still fail a few key tests if you know what to look for. This guide walks you through those checks calmly and logically, so you can verify a device before you pay and avoid expensive mistakes.
The One Rule That Matters Before You Pay
If you only remember one thing, remember this sequence.
First, confirm the device identity by matching the model and serial number.
Second, confirm the warranty status on Apple’s systems and on the device itself.
Third, make sure you receive proper proof of purchase with clear return terms.
If a seller resists any of these steps or tries to rush you through them, that hesitation is already your answer.
Step One: Match the Serial Number Everywhere
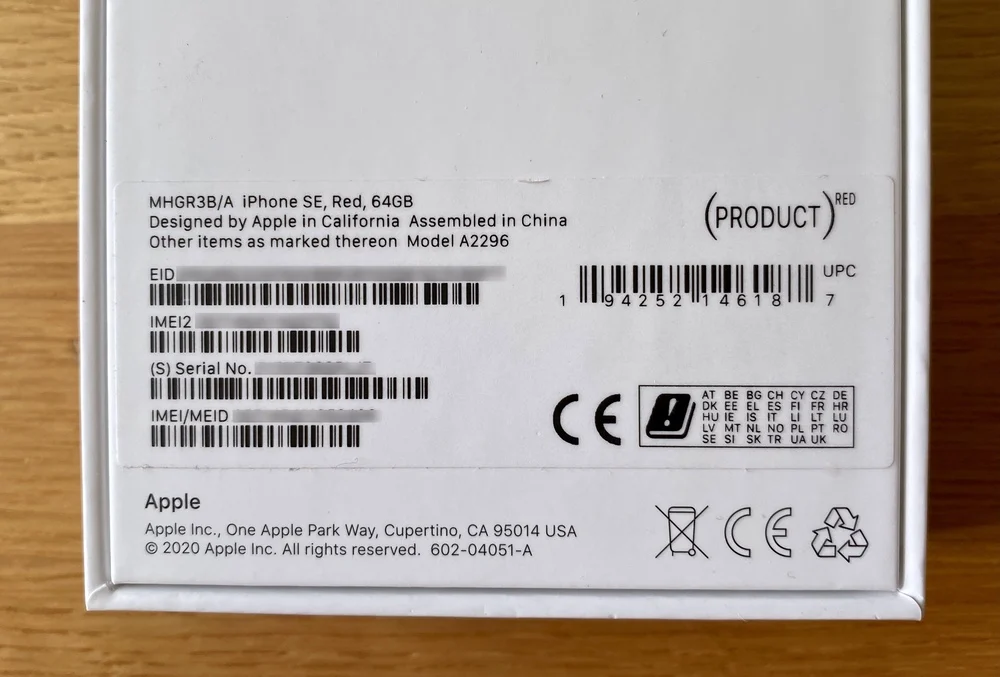
This is the fastest way to expose many fakes and mismatched devices.
Check that the serial number on the box matches the serial number inside the device. On an iPhone or iPad, this is found under Settings, General, About. On a Mac, it appears under About This Mac or System Settings, General, About.
At the same time, confirm that the model name shown in settings matches what the seller claims you are buying. If the box says one model but the device reports another, walk away.
Red flags here are simple. Serial numbers that do not match. Model names that do not align. Or sellers who say serial numbers do not matter and try to move the conversation along quickly.
Step Two: The “Apple Experience” Test
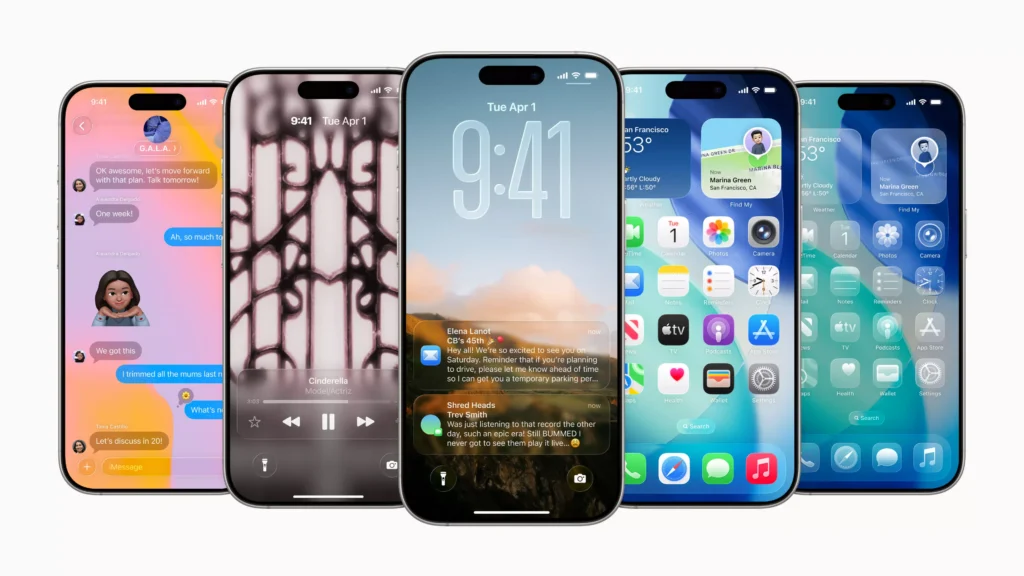
Apple devices are consistent. The setup flow, animations, menus, and system behaviour follow a very specific design language. Fakes often struggle to replicate this fully.
On iPhone or iPad, the setup process should feel smooth and familiar. Settings should look clean and correctly labelled. The App Store should behave normally. Face ID or Touch ID should set up without strange errors, and signing into iCloud should feel straightforward.
On a MacBook, About This Mac should clearly show macOS, chip type, memory, and storage. The system should feel stable, with no strange fonts, spelling mistakes, or unexpected pop ups.
If you notice awkward menus, inconsistent icons, or anything that feels like an Android interface pretending to be iOS, stop right there.
Step Three: Packaging and Build Quality Still Matter
Even convincing counterfeits often slip up on physical details.
Apple packaging is precise. Printing is crisp, aligned, and premium looking. Seals should be clean and uniform, not re taped or uneven. Accessories inside the box should feel solid and well finished, not thin or generic.
The device itself should feel tightly assembled. Buttons should click consistently. Ports should be centred. There should be no sharp edges, loose parts, or odd gaps.
If possible, compare the device with a known genuine Apple product. Differences become obvious very quickly when you do.
How to Confirm Warranty Properly
When someone says “official warranty,” that statement should be verifiable in under a minute.
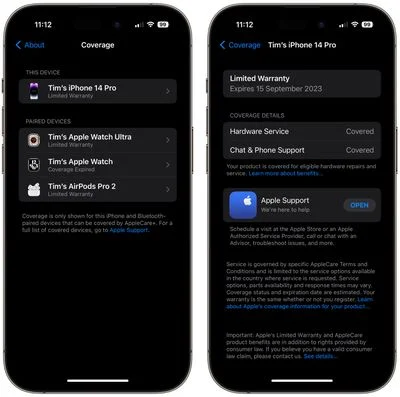
Start by checking the warranty status online using the device serial number on Apple’s coverage page. Then confirm the warranty information directly on the device.
On iPhone or iPad, go to Settings, General, AppleCare and Warranty.
On Mac, go to System Settings, General, AppleCare and Warranty.
What you want to see is simple. The device should be recognised correctly. The model should match. Warranty details should appear normally.
Red flags include serial numbers that show a different product, devices that cannot be recognised at all, or sellers who ask you not to check warranty yet and just trust them.
Proof of Purchase Is Not Optional
Before paying, you should receive a proper receipt or invoice with the date, full product name, and price. Ideally, the serial number or IMEI should be recorded on the invoice or clearly photographed on the box.
You should also understand the return or exchange policy. A serious seller will explain this clearly and put it in writing.
It is also important to understand the difference between Apple warranty and shop warranty. Apple warranty is tied to the device serial number. Shop warranty depends entirely on the seller’s policy. A trustworthy seller will explain both without confusion.
Practical Buying Advice That Saves You Money
Avoid deals that are far cheaper than the normal market without a clear explanation. Do not accept promises like “we will activate it later” or “warranty will show after payment.” Always verify model, serial, and warranty before money changes hands.
If buying via delivery, complete these checks before the rider leaves. Once the transaction is done, leverage disappears.
The Apple Center KE Standard
At Applecenter, the goal is simple. No guesswork.
Devices are brand new. Serials are verifiable. Warranty status is clear. Documentation is proper. Customers are guided through checks instead of being rushed past them.
That process exists to protect you, not slow you down.
Final Rule of Thumb
If a product is genuine, the seller will be comfortable with serial verification, warranty confirmation, and clear receipts.
If any of those steps suddenly become a problem, you already have your answer.


